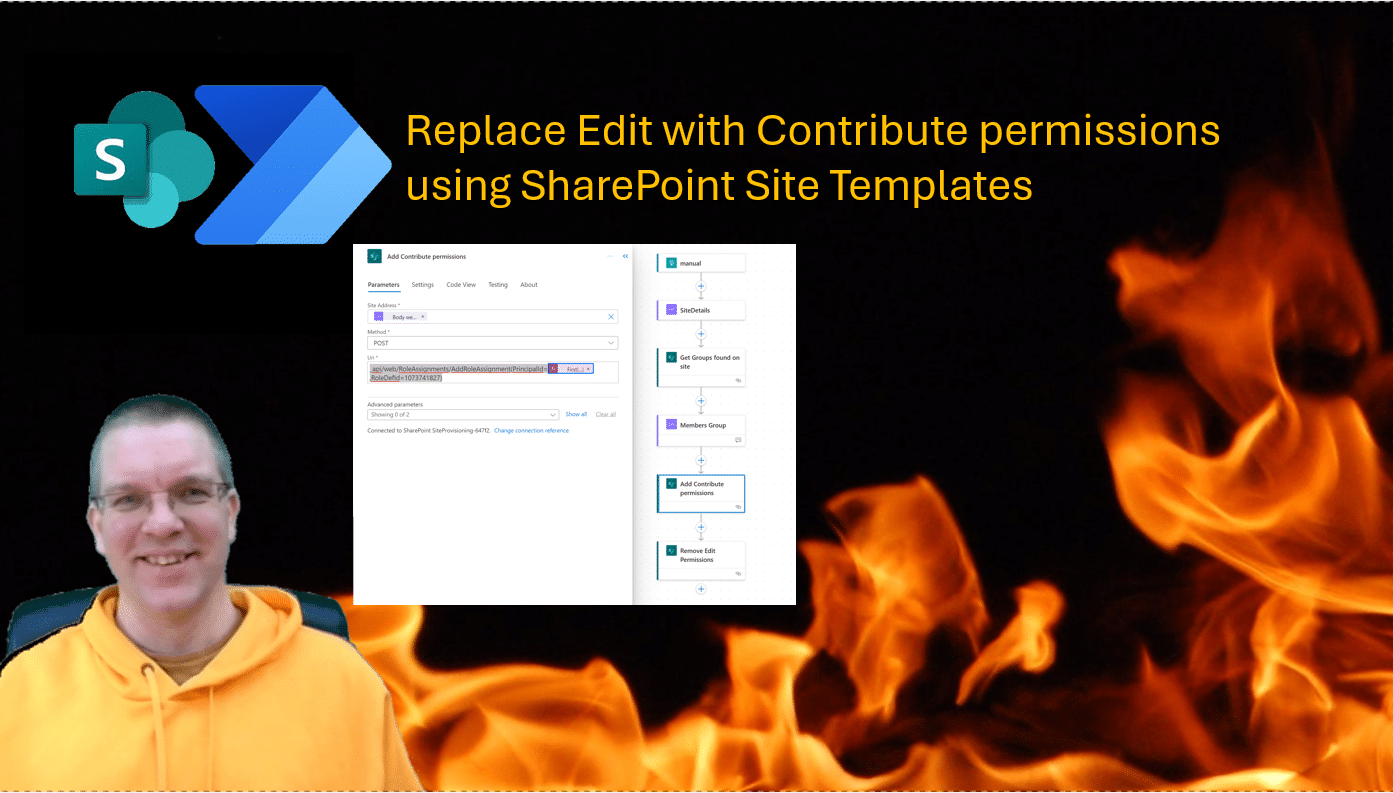
How do we replace Edit with contribute permissions? When you create a new team site members will have Edit permissions, but often we only want members to have Contribute permissions.
Edit vs Contribute permissions
Table of Contents
When we look at the various permission levels in SharePoint, we can see the different between Edit and Contribute permissions within the Permission Level settings.
Edit – Can add, edit and delete lists; can view, add, update and delete list items and documents.
Contribute – Can view, add, update, and delete list items and documents.
So where Edit allows you to adjust lists and libraries, Contribute only allows users to work with content such as list items and documents.

Site Scripting
For an introduction to site scripting please have a look at the Microsoft Site Scripting documentation.
Using site scripting we have the following options available to us:
- Add Content Types From Hub
- Create a new SharePoint list
- setDescription
- addSPField
- deleteSPField
- addSPFieldXml
- addSPLookupFieldXml
- addSiteColumn
- addSPView
- removeSPView
- addContentType
- removeContentType
- setSPFieldCustomFormatter
- associateFieldCustomizer
- associateListViewCommandSet
- setTitle
- Define a new site column
- Define a new content type
- addSiteColumn
- removeSiteColumn
- Add a navigation link
- Remove a navigation link
- Apply a theme
- Set branding properties
- Set a site logo
- Join a hub site
- Install an add-in or solution
- Register an extension
- Activate a Feature
- Trigger a flow
- Configure regional settings
- Add users (principals) to SharePoint Groups
- Manage guest access
So in short, we can do a lot with site scripting! But there is no step to change permission levels. Or is there …
As we look at the options available to us, we ca do anything we want as we can call a flow, and a flow can call a SharePoint REST API.
Running a flow from a site script
To trigger a flow from a site script, we will need to use the When an HTTP request is received trigger.

Once you have saved the flow, the trigger will give you a HTTP POST URL.

Within the Site script we will use the URL that we have been given within a section that looks like this:
{
              "verb": "triggerFlow",
              "url": "https://prod-29.uksouth.logic.azure.com:443/workflows/590fd5c21acf435aa1d85a665927060d/triggers/manual/paths/invoke?api-version=2016-06-01&sp=%2Ftriggers%2Fmanual%2Frun&sv=1.0&sig=....",
              "name": "Provision Site"
            }
Notice that the trigger Flow section should be added at the end of all the steps. Placing it earlier in the site script could result in timing issues , if your flow depends on the other steps within the site script
Now the next step in our flow. The trigger will return the a record like this to us:
{
  "webUrl": "https://myorg.sharepoint.com/sites/PVTest2",
  "webTitle": "PV Test 2",
  "webDescription": "PV Test 2",
  "groupId": "22141721-0733-4a61-a628-0a438495551c",
  "creatorEmail": "PVTest2@myorg.onmicrosoft.com",
  "creatorName": "PV Test 2 Owners",
  "createdTimeUTC": "11/27/2023 9:31:58 AM"
}
By adding a Parse JSON step in our flow and renaming this to SiteDetails. We will make things a bit easier for ourselves.

The schema, of the data should look like this:
{
    "type": "object",
    "properties": {
        "webUrl": {
            "type": "string"
        },
        "webTitle": {
            "type": "string"
        },
        "webDescription": {
            "type": "string"
        },
        "groupId": {
            "type": "string"
        },
        "creatorEmail": {
            "type": "string"
        },
        "creatorName": {
            "type": "string"
        },
        "createdTimeUTC": {
            "type": "string"
        }
    }
}
Why use a parse JSON? We could just specify the schema on the trigger. Well, yes we could specify the schema at the trigger level. However when we specify the schema on the trigger, the trigger could fail, if we got the schema wrong. Most of the time it is better not to validate data at the trigger level. As error handling becomes easier once the flow has been started.
My Requirements, Replace Edit with Contribute permissions
In my case I want to change the permissions of the Members group from Edit to Contribute on the site that the site design/script is applied to.
Where the out of the box team sites gives us a Members group with Edit permissions I will now want this to be set to Contribute. So we will need to replace Edit with Contribute.

Get SharePoint Groups
I will first need to get our SharePoint group using the SharePoint REST API. I would have liked to use OData Filters, however I’m looking for a filter like.
_api/web/SiteGroups?$filter=endswith(Title, ' Members')However the endswith is not supported in this case. So we will have to get all the site groups as shown below using a Send an HTTP request to SharePoint action:

And then we can use the Filter Array action to get the right group only.

The From is set to : body(‘Get_Groups_found_on_site’).value
While the Filter Query is set to item().Title
We should now have the following flow.

To replace Edit with Contribute we will need to go through two steps. First we add the contribute and then we will remove the edit permissions.
Add Contribute Permissions to a group
Continuing with the Send an HTTP request to SharePoint action, we can create the following step:

The expression used to get the PrincipalId within the endpoint Uri is as follows:
_api/web/RoleAssignments/AddRoleAssignment(PrincipalId=@{First(body('Members_Group')).Id},RoleDefId=1073741827)Remove Edit Permissions from a group
Similar to the adding of the Contribute permissions we can also remove the edit permissions.

_api/web/RoleAssignments/RemoveRoleAssignment(PrincipalId=@{First(body('Members_Group')).Id},RoleDefId=1073741830)As we’ve seen there is a RoleDefId that represents the Contribute(1073741827) and the Edit (1073741830).
And that is it, with a small flow I’ve now replace Edit with Contribute permissions on the site that had the template applied. When using this in production you should of course always add the try catch pattern, so that you can handle any issues.


